
How to Change Web Hosting Service Providers in 2025
How to change web hosting service providers is a common question among website owners looking to improve their site’s performance or to find better customer support. If you’re seeking a quick answer on migrating your web hosting, here’s a simplified bullet list to get you started:
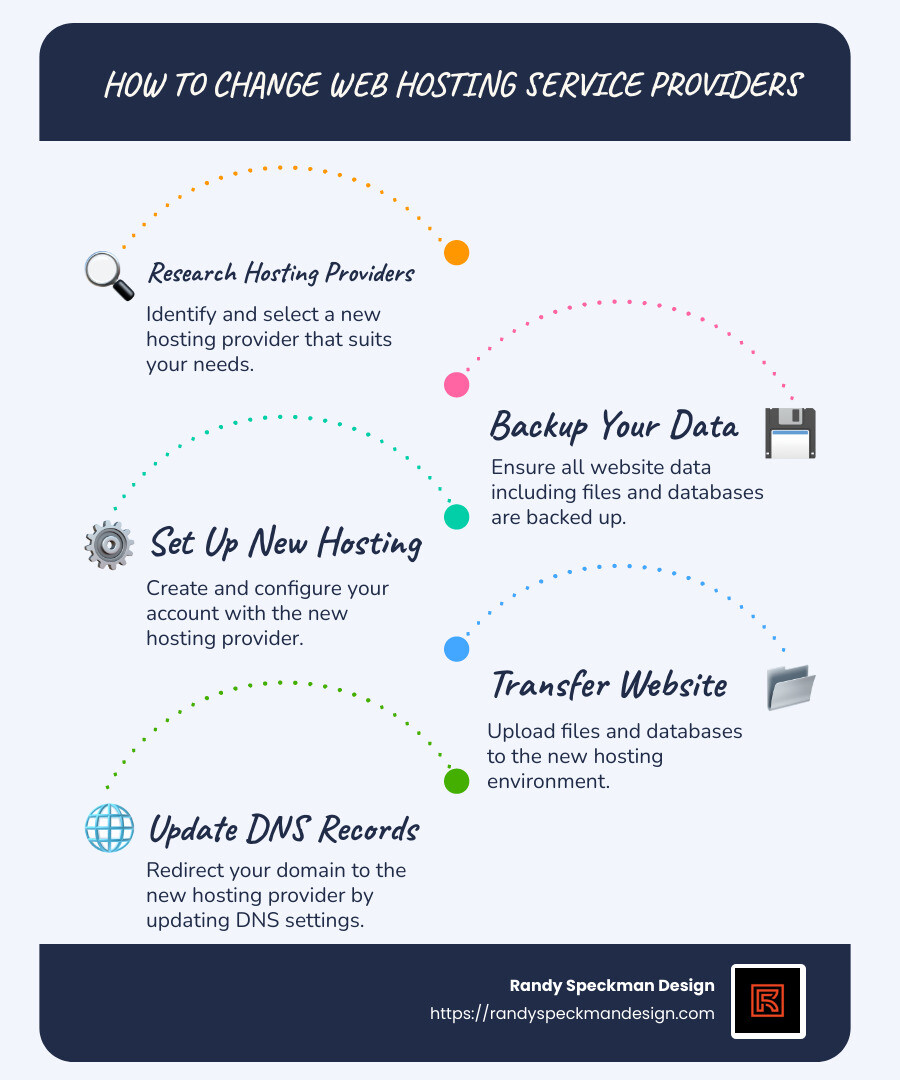
- Research and select a new hosting provider based on your specific needs.
- Backup all your website data including files, databases, and emails.
- Set up an account with your new host and configure it.
- Transfer your site’s files and databases to the new hosting environment.
- Update your DNS records to direct your domain to the new host.
- Cancel your old hosting account once everything is running smoothly.
Welcome to the exciting world of web hosting migration! This process may seem daunting, but when executed correctly, it can enable a seamless transition to a new hosting provider. The right hosting can lift your website’s speed, security, and support, thus influencing your digital success.
My name is Randy Speckman. As the founder of Randy Speckman Design, I’ve guided countless entrepreneurs through the intricacies of how to change web hosting service providers, leveraging my experience in strategic brand growth and custom website design to ensure robust online presence.
Glossary for how to change web hosting service providers:
– how to become a web hosting service provider
– how to pick a web hosting service
Why Change Your Web Hosting Provider?
Migrating to a new web hosting provider can feel like a big step, but there are compelling reasons to consider it. Here are the key motivations:
Upgrade Speed
A slow website can frustrate users and harm your search engine rankings. If your current host can’t keep up, it’s time to consider a switch. Many affordable hosts might seem like a great deal at first, but as your business grows, you need a provider that can handle increased traffic. Nexcess is one option that offers advanced caching solutions like page cache and Redis object caching to boost your site’s performance.

Better Support
Customer support can make or break your hosting experience. Imagine having an issue and waiting hours or even days for a response. That’s unacceptable. Look for hosts that offer 24/7 support through multiple channels like live chat, phone, and email. Test their response times before committing. A host with excellent support can save you time and stress, ensuring your site runs smoothly without hiccups.
Storage Needs
As your website grows, so do your storage needs. High-quality images, videos, and other media can quickly eat up space. If you find yourself constantly hitting storage limits or paying overage fees, it’s time to upgrade. Some hosts offer scalable solutions, allowing you to expand your storage as needed without breaking the bank.
Switching to a new provider can seem daunting, but with the right approach and resources, you can enjoy faster speeds, better support, and more storage. These benefits not only improve your website’s performance but also contribute to a better user experience and business growth.

Next, we’ll guide you through the process of how to change web hosting service providers with clear, actionable steps.
How to Change Web Hosting Service Providers
Switching web hosts may sound complex, but with a clear plan, you can make the transition smoothly. Let’s break it down into simple steps.
Step 1: Choose a New Hosting Provider
Start by picking a host that meets your needs. Look for reliable performance with high uptime and regular maintenance. Security is crucial—ensure they have strong cybersecurity measures like SSL encryption. A good user experience is also key; an intuitive interface makes managing your site easier.
Don’t forget to consider features. Some hosts offer free site migrations, which can save you time and effort. Check for extras like 24/7 support and money-back guarantees. These can make all the difference.
Step 2: Backup Your Website
Before moving, back up your website. This includes all files, databases, and emails. Use an FTP client like FileZilla to download your site files. For databases, go to your host’s control panel and use the export option in phpMyAdmin.
Make sure your backup is complete. This step is crucial to avoid losing any data during the transfer. As a pro tip, don’t alter your files once downloaded. It could lead to errors when setting up on the new host.
Step 3: Transfer Your Website
Now, it’s time to move your site. You can do this manually by uploading files via FTP and importing databases into the new host’s control panel. If you run a WordPress site, consider using a migration plugin like All-In-One WP Migration for a smoother process.
For those less tech-savvy, many hosts offer migration assistance. Some even do it for free. This service can be a lifesaver, especially if you’re busy or unsure about the technical details.
Don’t forget to update your DNS settings to point your domain to the new host. This step can take some time to propagate, so be patient.
Step 4: Test and Review
Finally, test your website on the new host. Check all functionalities and links to ensure everything works correctly. Look for errors and fix them promptly. A thorough review ensures a seamless user experience.
Keep an eye on your site for a few days post-migration. This helps catch any issues early. A smooth transition not only improves performance but also improves user satisfaction.
By following these steps, you can change web hosting service providers without a hitch. Next, we’ll tackle some common questions about web hosting migration.
Frequently Asked Questions about Web Hosting Migration
How do I point my domain to another hosting provider?
Pointing your domain to a new hosting provider involves updating your DNS settings. This tells the internet where to find your website. Here’s how:
-
Log into your domain registrar’s account. This is where you registered your domain name.
-
Find the DNS management section. Look for options like “Domain Management” or “DNS Settings.”
-
Change your name servers. Input the name servers provided by your new hosting provider. These usually look like
ns1.newhost.comandns2.newhost.com. -
Save your changes. That DNS changes can take up to 24-48 hours to propagate globally.
Updating your DNS ensures that visitors are directed to your new hosting provider when they type your domain into a browser.
What is the easiest way to migrate a WordPress site?
Migrating a WordPress site can be straightforward with the right tools. The All-In-One WP Migration plugin is a popular choice. Here’s why it’s easy:
-
No technical skills needed. The plugin simplifies the process with a user-friendly interface.
-
One-click export and import. You can export your entire site, including themes, plugins, and database, with one click.
-
Compatible with most hosts. The plugin works with many hosting providers, making it a versatile option.
To use it, install the plugin on your current site, export the site data, and then import it into your new WordPress installation. This method minimizes downtime and reduces the risk of errors.
Do I need to transfer my domain registration?
Transferring your domain registration to your new host is optional. Here are a few considerations:
-
Keep everything in one place. Transferring can simplify management by having your hosting and domain under one account.
-
Not mandatory for migration. You can update your DNS settings without transferring the domain, keeping your registration with the original provider.
-
Consider costs and benefits. Some hosts offer incentives for transferring, like discounted rates or included services.
If you decide to transfer, initiate the process through your new host. They often provide step-by-step guidance. During the transfer, ensure your domain ownership details are up-to-date to prevent any hiccups.
These FAQs should help explain the process of changing web hosting service providers. Understanding these aspects ensures a smooth transition to your new host.
Conclusion
Changing your web hosting provider doesn’t have to be a daunting task. With careful planning and the right tools, you can ensure a seamless transition that boosts your website’s performance and reliability.
At Randy Speckman Design, we excel in creating high-performing websites that not only meet your business needs but also improve your digital strategy. Our expertise in web design and marketing ensures that your website is not just a digital placeholder, but a powerful tool for conversion optimization.
We understand that every business is unique, and so are its hosting needs. That’s why we offer custom solutions that align with your goals. Whether you need help with how to change web hosting service providers or want to explore new digital strategies, we’re here to assist.
Our team is committed to providing top-notch support and guidance through every step of your web hosting journey. From selecting the right provider to ensuring your site is optimized for speed and security, we’ve got you covered.
Ready to take the next step? Explore our website hosting services and find how we can help you achieve your digital ambitions. Let’s make your website work harder for your business!